Lunatic Dawn IITrickless Play Log #02
<< Previous#2 One simply walks to Berlingen (and back)
Time to visit the Inn.
You can do a few things here.
Rumor lets you speak/listen to others at the Inn and gain some information.
Lodging allows you and the party to rest up. I think it mostly restores stamina, for HP recovery it is normally best to visit the Holy Temple.
Join allows you to recruit other adventurers, and
Bye dismisses them from your party. Clicking on
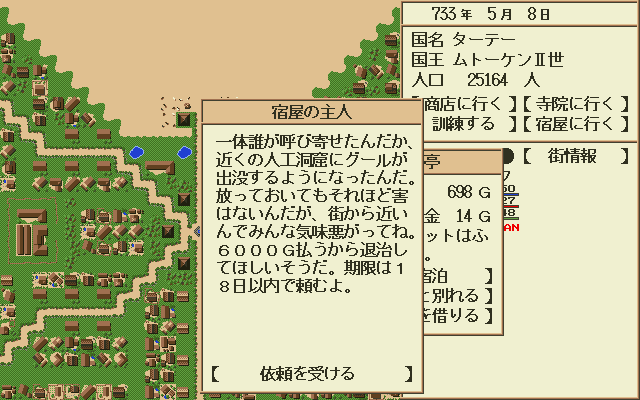
Adventure will bring up a list of available quests you can accept, which looks a bit like this:
The words shown on the list are the types of quest. So far I have come across these ones (Update: Will update if I come across more).
I went for a delivery quest. The pay isn’t much but I wanted something simple as a first quest.
Sounds easy enough. After accepting it, the quest item will appear in your inventory.
Hmmm… probably best not to
Drop or
Use it…
I decided to recruit someone in case I meet any hostiles along my travels. This is what comes up when you view an adventurer's details at the Inn
Unlike in the first game, it only describes abilities that are worth highlighting. There's also race, gender and age. This person seems a bit average, so let’s take a look at another.
This 90 year old dwarf sounds like he could do a decent job. Welcome aboard, Kalbirim!
As soon as he was recruited there were 2 things I noticed. First, the food supply is shared amongst the party, so my 99 days worth of food was cut down to 50 (!!). Second, he has the same avatar as Lord Fudge, so we need to change that

(SYSTEM -> 表示キャラクタ選択)
I went with PM2.
Just a note on recruits. You can’t buy equipment for them, nor can you unequip their stuff. They can’t be trained up either. They seem pretty much ‘as is’ when they join, but I could be proven wrong later.
I think we’re ready to roll. Before setting off though, I had a cheeky idea of using a
Carriage to get to our destination.
Well, Berlingen isn’t on the list, but judging from the prices it probably would not have been worth it anyway. Walking shouldn’t be too hard, I hope. Anyway, let’s get out of here.
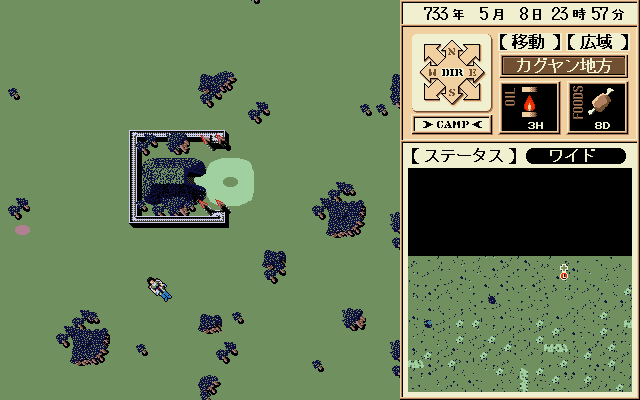
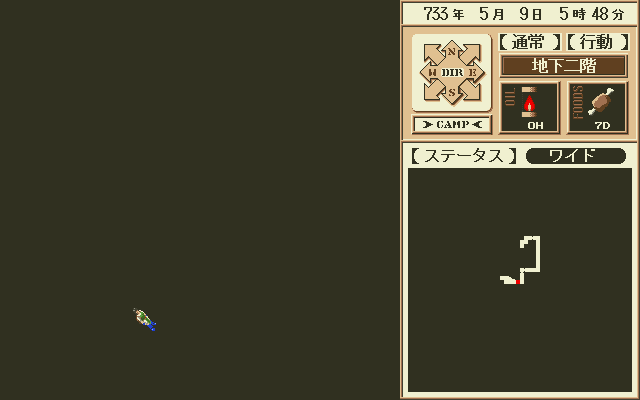
Welcome to the outside world. A few things to take note. As it says on the top right we are currently in 神聖ギザ帝国 (Holy Giza Empire). It seems I don’t have permits to visit other countries just yet. The top left is a zoomed in version of the world map, the yellow dots on it represent towns/cities. You can view the world in its entirety by clicking on MAP. The PARTY and SYSTEM menus has some additional options in them :
Travelling has been made way easier compared to LD1. All you have to do is set up a marker by clicking on the screen and the character will move onto that direction. You can set up consecutive markers (I think up to 8), and each time it will give you an estimated number of days it will take to reach the final point.
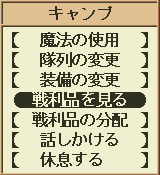
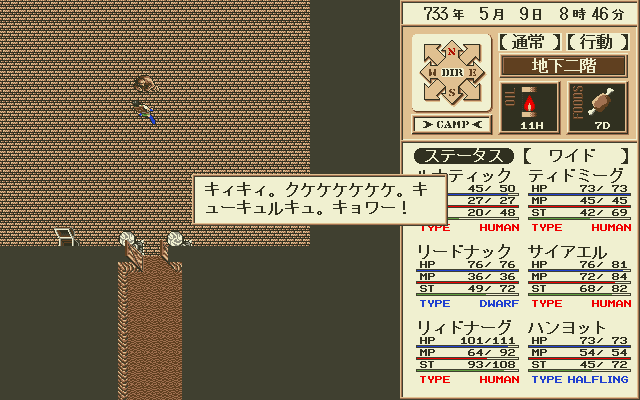
Stamina is depleted as you travel, so camping is necessary. There’s a couple of ways you can handle this. The first method is to just select
Sleep, then adjust the number of hours you want to rest. The second method is to set up a
Schedule for how long you stay up and sleep. With this, camping becomes automated as you travel. A schedule is already set up with these default settings, which I kept:
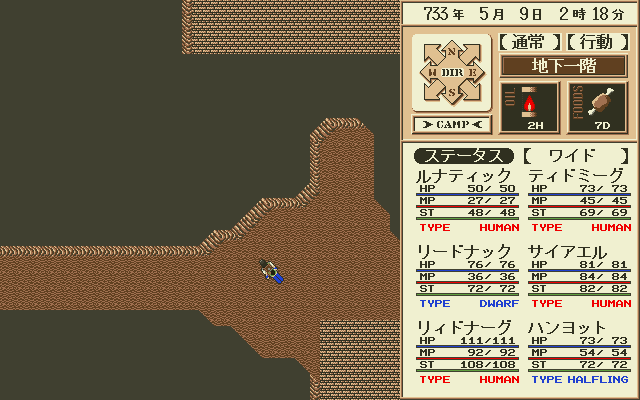
I decide to make my way to the yellow dot on the south west of the map, as that is where Berlingen is supposedly located. It’s a bit faraway and would take about 30 days (!!) to get there on foot. During my travels, I noticed a couple of cave and dungeon entrances. I don’t think my party is strong enough to tackle whatever is lurking inside them so I stayed on track. It wasn’t too long before I was thrown into my first battle.

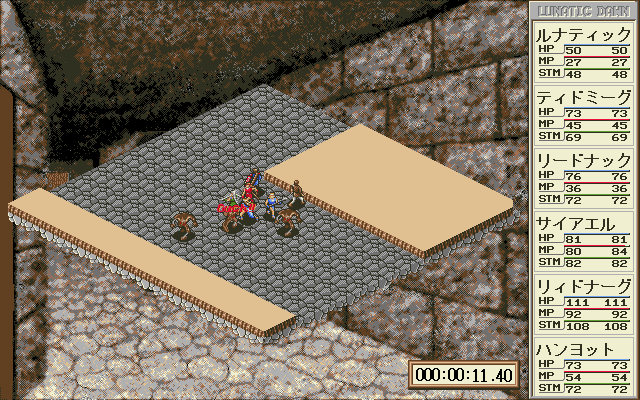
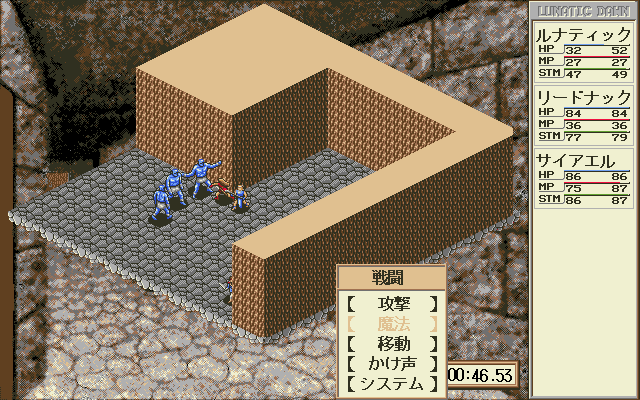
Battle mechanics are mostly the same as LD1. Players and enemies are on an isometric battle field, and you’re presented with a bunch of commands for your character. You can also give out orders to your team members by using the Shout command. The sword and armor icon on the left allows you to switch to seeing defense stats of your characters, and the hourglass below it shows the time duration and also allows you to pause. You can pan around the area using the map controls on the bottom right. I don’t think you can rotate the field like in LD1 though. I’m not so sure what those little stars beneath the character avatars are either, I think they might represent status effects.
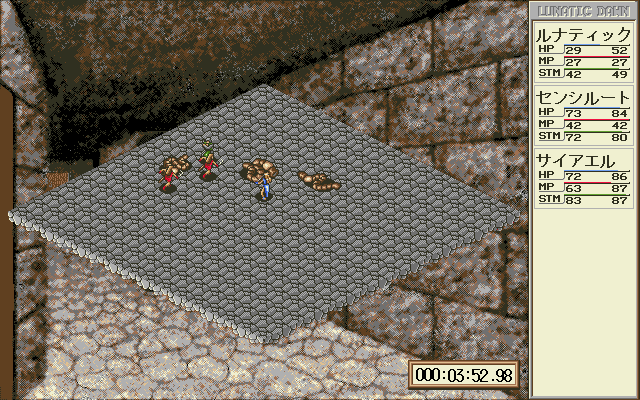
Kalbirim took out all the bandits with ease. I’m lucky he was cooperative and listened to my orders, as Lord Fudge was struggling. Maybe I should have trained beforehand.
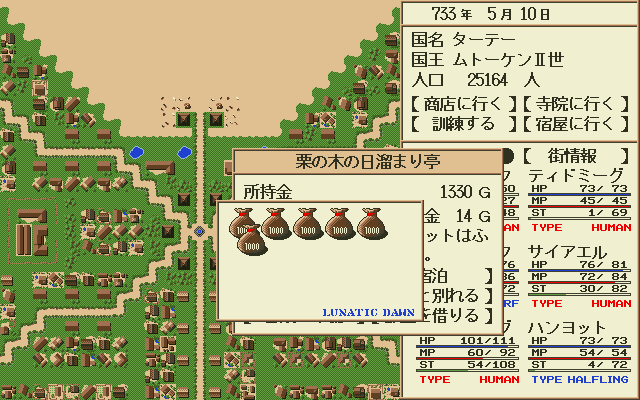
Eventually we arrived at Berlingen. It’s a smaller place than Oldebroek, with much less shops and buildings.
領主の館 (Lord of the Mansion) is listed under SHOP but just before I clicked on it, a brilliant idea popped into my head. Rather than handing over the cup, can I sell it at a shop?
Crikey, I can sell it for 13035G!? That’s almost 9x more than the reward! So now I have a potentially life changing decision to make. I could stay on the righteous path and deliver this cup like a true hero but earn very little, or sell it for lots of money but risk ruining my reputation...
After much soul searching I decided to deliver the cup. I wasn't ready to taint the Fudge family name... yet.
I stocked up on food and began my journey back to Oldebroek to collect my reward.
At the time I didn’t realise that the prize money was shared, and I ended up getting half. The quest took 2 months, and I still have less money than when I started. I began to wonder what I would have done if I had 13035G to spend…


 (SYSTEM -> 表示キャラクタ選択)


