Ike's Guide to Making your NES Play like a Champ
Sept 29, 2010 21:30:44 GMT -5
Post by Ike on Sept 29, 2010 21:30:44 GMT -5
I wrote this as a guide for a more general audience. I realize that most of this is probably obvious to all of you, but hey!
NESes are frustrating as hell. Rip the cartridge out, blow on it, put it back in, wiggle it around, rip it back out, blow on it, slam it back in the fucker, wiggle it around, push the power and reset buttons alternately in a furious rage, and then finally just hurl the thing out the window or blow a bunch of money on a replacement pin connector or a clone system.
Or use an emulator, like a clod.
but it's just not the same is it?
There's no reason to go to all that work. Herein I will detail the process of deep-cleaning your system that I have used to great success on at least 8 consoles.
There are two factors to consider before reading any further that could render the rest of this pointless.
1. Make sure the thing actually works. Plug it in, turn it on, and make sure that it's actually getting power. If it's not getting power or you're missing the power cord, borrow a friend's power adapter, ask at your local retro shop, whatever, and test it with that cord. If it turns on, great! If it doesn't, don't bother cleaning it. It would be like polishing a turd. Test it first before investing any more time or money in it!
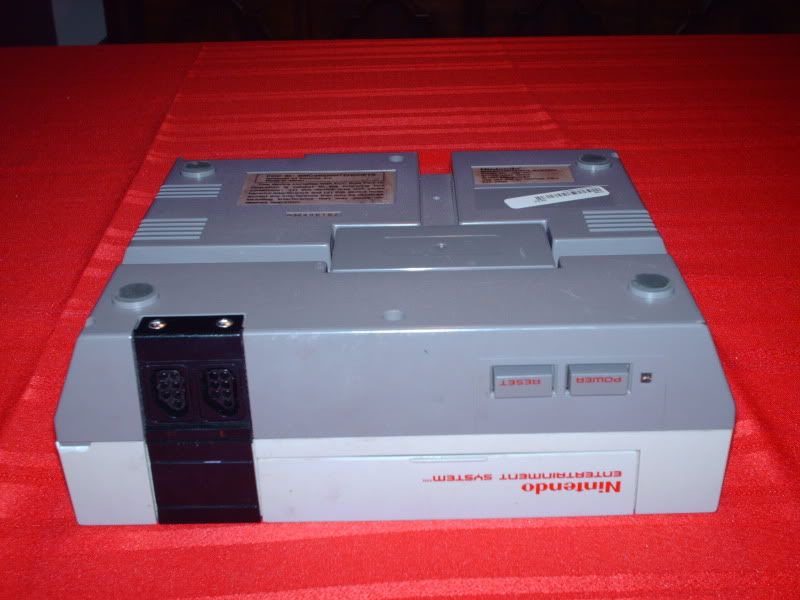
2. Make sure the pin connector is tight enough! This is a major problem in the toaster style NESes, but many with loose pin connectors still work. If you can stick a game in, and turn the console over, the cartridge should at least stay secure in the console. If it falls out, or comes close to falling out, it's probably not worth keeping. The console should offer at least a little resistance when you try to pull the cart out.
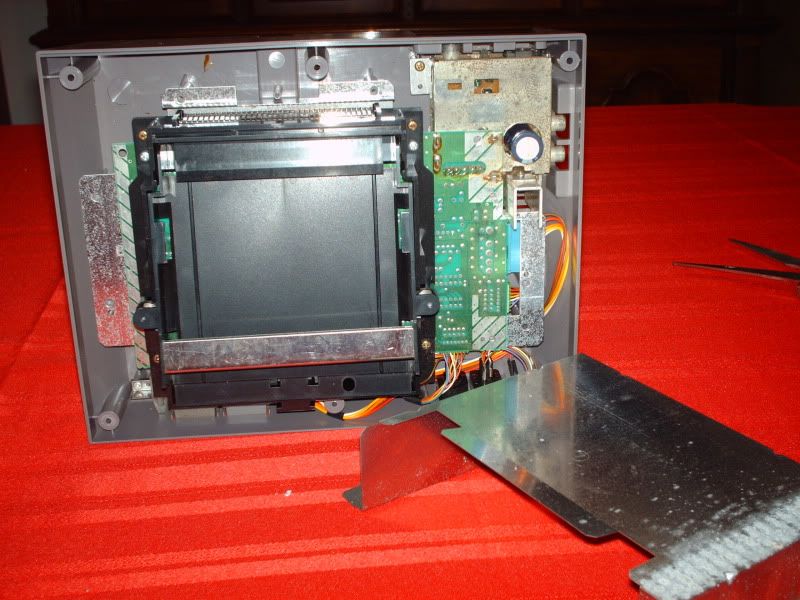
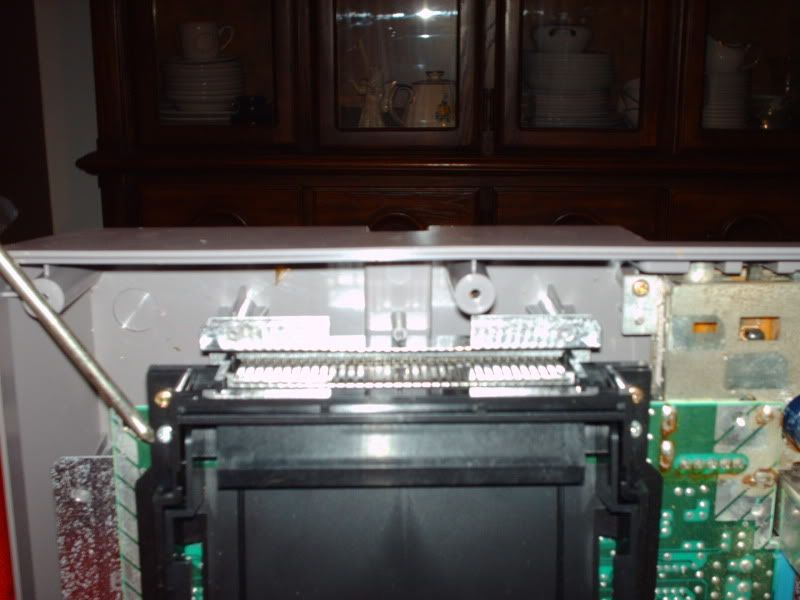
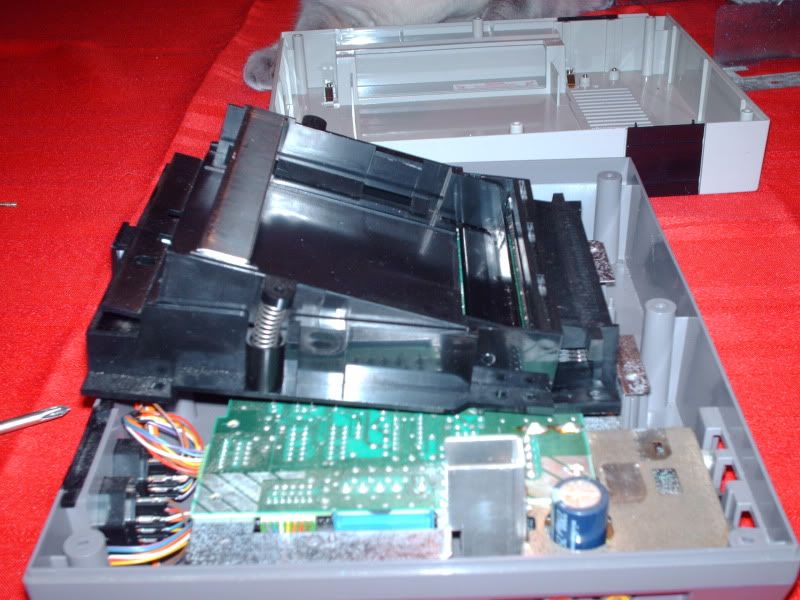
This is fixable through a little creative use of a small flathead screwdriver, but this is what we're trying to avoid. I plan to keep this guide as simple as possible so even if you have no technical knowledge at all, you won't have to risk taking your console apart.
Assemble your toolkit![/b] [/u][/size]
I'm going to assume we're working on a budget here and keep options as cheap as possible.
Required
Optional[/u]
Once you get all your supplies ready, the first thing we'll do is clean the game itself.
Step 1: Clean your cartridge.[/i][/size]
Grab your game. This was the only game I could find that I hadn't already cleaned, this bizarre blue Color Dreams cart.

Optional Step: Open your cartridge if you're able to do so. Here I've taken a photo of myself opening the cartridge, in flagrant disregard of the "Do not disassemble" warning.

I found out later that the reason you shouldn't disassemble it is because the screws are very cheap and come stripped under mild tension. If you manage to get your cart open, pull the board out and follow the next few steps.
Grab your swab and apply a small amount of Brasso to one end. Just enough to cover 2/3rds of the head of the swab should do it. Swab lightly over both sides of the pin set, enough to cover it evenly over the board.


Something like so.
Once you've evenly coated the pins, vigorously rub your cotton swab over them. Press hard and use small, strong scrubs, as you're trying to rub off what could be years of grime and tarnish. The reason we use Brasso is because it's a powerful cleanser as well as a pretty good metric for telling how clean a cartridge really is.
For example, my Metal Fighter cartridge was reasonably clean. No obvious dust, no rust or corrosion. However, all of this came off of the cart on my first scrub:

Swab it with both sides of the one you're currently using. After that, take your Windex or rubbing alcohol and wet a new swab. You'll want to keep scrubbing with fresh swabs when the head turns black. Eventually you should be able to rub your swab across it and not pick up very much dirt. You'll want to clean off as much as possible for best results. Dry it afterward.
Your cartridge should be nice and shiny. Ideally, you should clean all of your cartridges this way.
We're preparing to use this cartridge to scrub the inside of the console itself, and thus we need it to be as clean as possible.
Step 2: Clean your console.[/i][/size]
Take your cartridge and repeat the process with the Brasso. Apply a small amount of it to both sides of the pin board and make sure it's spread evenly across. You don't wanna glob on a whole lot of it, it won't take much.
Take the cartridge and insert it into your NES. Remove it and reinsert it 3-4 times. Afterward, swab off the remaining Brasso. Chances are, some dirt has come out of the console. Clean your cartridge in the same manner described above.
Take another swab and wet it up with your Windex/alcohol. Apply it to the cartridge in the same manner you applied the Brasso, but don't dry it. Repeat the process described above and allow it to scrub the 72-pin connector. After you've scrubbed it some, dry it with a swab and try to remove any excess dirt. You may have to do this 3-4 times before you get all the remaining polish out of it.
If you've got some compressed air, blow out the pin connector. Insert your cleaned cartridge and power on. Hopefully, it works on the first try. If not, repeat the last step. If it still doesn't work, insert the cartridge as normal, push it down and slide it back and forth slightly until it boots up consistently.
NESes are frustrating as hell. Rip the cartridge out, blow on it, put it back in, wiggle it around, rip it back out, blow on it, slam it back in the fucker, wiggle it around, push the power and reset buttons alternately in a furious rage, and then finally just hurl the thing out the window or blow a bunch of money on a replacement pin connector or a clone system.
Or use an emulator, like a clod.
but it's just not the same is it?
There's no reason to go to all that work. Herein I will detail the process of deep-cleaning your system that I have used to great success on at least 8 consoles.
There are two factors to consider before reading any further that could render the rest of this pointless.
1. Make sure the thing actually works. Plug it in, turn it on, and make sure that it's actually getting power. If it's not getting power or you're missing the power cord, borrow a friend's power adapter, ask at your local retro shop, whatever, and test it with that cord. If it turns on, great! If it doesn't, don't bother cleaning it. It would be like polishing a turd. Test it first before investing any more time or money in it!
2. Make sure the pin connector is tight enough! This is a major problem in the toaster style NESes, but many with loose pin connectors still work. If you can stick a game in, and turn the console over, the cartridge should at least stay secure in the console. If it falls out, or comes close to falling out, it's probably not worth keeping. The console should offer at least a little resistance when you try to pull the cart out.
This is fixable through a little creative use of a small flathead screwdriver, but this is what we're trying to avoid. I plan to keep this guide as simple as possible so even if you have no technical knowledge at all, you won't have to risk taking your console apart.
Assemble your toolkit![/b] [/u][/size]
I'm going to assume we're working on a budget here and keep options as cheap as possible.
Required
- Brasso. This is absolutely necessary as it's the main component of our success. Brasso is available in any large supermarket for around $3.50 for a huge bottle of it. This is probably the most expensive item on our list.
It looks like this:
- A metric fuckton of double-sided cotton swabs. You're going to go through a lot of these. Be mindful of which kind you pick up. In this case I actually recommend going with a cheaper brand because they tend to have coarse fiber that doesn't break apart easily, while Q-Tips tend to be too soft. I regularly buy packs of 100 of the cheapest available swabs at my local Big Lots for $.50 cents each. They're terrible in your ears but awesome on games.
- A reasonably clean NES game. Obviously, the cleanest games are going to give us the most success, but regardless, we're going to give the game itself a deep cleaning as our first step. Details will come at the bottom of this list. Basically, though, you'll want a game that's not filled with spiderwebs and roach legs.
- Windex and/or Rubbing Alcohol. Windex is the preferred substance, but it can get kind of expensive for how little of it you're going to need for our purposes. If you decide to use rubbing alcohol, it's important that you get some with a high alcoholic concentration, preferably 70-90%. Most stores sell 50% solution, which is too much water to use in a device prone to rust. Alcohol is a drying agent and thus evaporates more quickly than the water in the solution, which creates problems down the line. Windex works a little better because it has detergents that break down dirt, and it evaporates quickly, and it kind of smells nice.
Optional[/u]
- A Nintendo cleaning kit. Ideally, you own one of these lovely devices in good enough condition that it can be used. These come in several types; the official Nintendo kit comes with two or three paper swabs that you can clip into the cleaning cartridge. Some of the more generic models instead have an insert covered with a thick, rough plastic scrub. For our purposes, the plastic ones are preferred. The paper ones used by Nintendo's kit tend to fall apart quickly and are difficult to clean.
- Security bits. You'll need a 3.8mm bit to open most NES carts. Older carts can be opened with a small flathead screwdriver. This is only if you intend to give a thorough treatment to both your games and your system, but is not necessary in most cases. It looks like this:

Once you get all your supplies ready, the first thing we'll do is clean the game itself.
Step 1: Clean your cartridge.[/i][/size]
Grab your game. This was the only game I could find that I hadn't already cleaned, this bizarre blue Color Dreams cart.

Optional Step: Open your cartridge if you're able to do so. Here I've taken a photo of myself opening the cartridge, in flagrant disregard of the "Do not disassemble" warning.

I found out later that the reason you shouldn't disassemble it is because the screws are very cheap and come stripped under mild tension. If you manage to get your cart open, pull the board out and follow the next few steps.
Grab your swab and apply a small amount of Brasso to one end. Just enough to cover 2/3rds of the head of the swab should do it. Swab lightly over both sides of the pin set, enough to cover it evenly over the board.


Something like so.
Once you've evenly coated the pins, vigorously rub your cotton swab over them. Press hard and use small, strong scrubs, as you're trying to rub off what could be years of grime and tarnish. The reason we use Brasso is because it's a powerful cleanser as well as a pretty good metric for telling how clean a cartridge really is.
For example, my Metal Fighter cartridge was reasonably clean. No obvious dust, no rust or corrosion. However, all of this came off of the cart on my first scrub:

Swab it with both sides of the one you're currently using. After that, take your Windex or rubbing alcohol and wet a new swab. You'll want to keep scrubbing with fresh swabs when the head turns black. Eventually you should be able to rub your swab across it and not pick up very much dirt. You'll want to clean off as much as possible for best results. Dry it afterward.
Your cartridge should be nice and shiny. Ideally, you should clean all of your cartridges this way.
We're preparing to use this cartridge to scrub the inside of the console itself, and thus we need it to be as clean as possible.
Step 2: Clean your console.[/i][/size]
Take your cartridge and repeat the process with the Brasso. Apply a small amount of it to both sides of the pin board and make sure it's spread evenly across. You don't wanna glob on a whole lot of it, it won't take much.
Take the cartridge and insert it into your NES. Remove it and reinsert it 3-4 times. Afterward, swab off the remaining Brasso. Chances are, some dirt has come out of the console. Clean your cartridge in the same manner described above.
Take another swab and wet it up with your Windex/alcohol. Apply it to the cartridge in the same manner you applied the Brasso, but don't dry it. Repeat the process described above and allow it to scrub the 72-pin connector. After you've scrubbed it some, dry it with a swab and try to remove any excess dirt. You may have to do this 3-4 times before you get all the remaining polish out of it.
If you've got some compressed air, blow out the pin connector. Insert your cleaned cartridge and power on. Hopefully, it works on the first try. If not, repeat the last step. If it still doesn't work, insert the cartridge as normal, push it down and slide it back and forth slightly until it boots up consistently.


